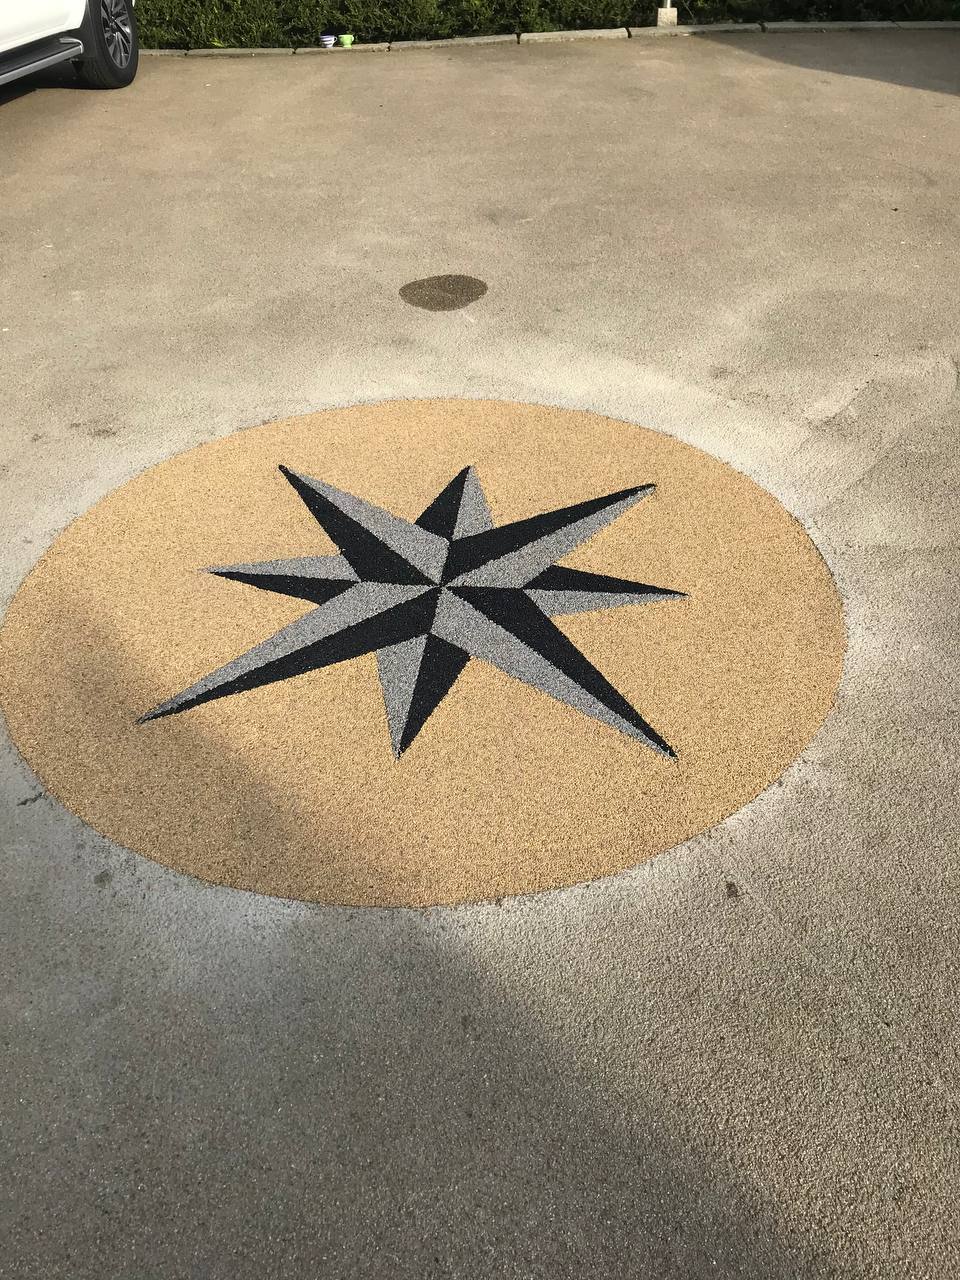
Introduction: Resin-bound driveways are known for their durability and low maintenance, but like any outdoor surface, they may occasionally develop cracks or damage due to various factors, such as heavy traffic, extreme weather, or settling of the ground beneath. Fortunately, repairing cracks and damage in a resin-bound driveway is a manageable task that can help prolong its lifespan and maintain its attractive appearance. In this blog post, we’ll guide you through repairing cracks and damage in your resin-bound driveway.
Assessing the Damage:
Before you begin any repair work, it’s essential to assess the extent of the damage to your resin-bound driveway. Here are some common types of damage to look out for:
- Small Surface Cracks: These are hairline cracks that may not affect the structural integrity of the driveway but can be unsightly.
- Potholes or Depressions: These are areas where the surface has sunk or deteriorated, creating holes or low spots.
- Loose Aggregate: Sometimes, the resin binder can weaken, causing loose aggregate stones on the surface.
- Deep Cracks: These larger cracks can affect the driveway’s integrity and require more extensive repairs.
Materials You’ll Need:
- Resin-bound repair kit: This kit typically includes resin, hardener, and aggregate suitable for your existing driveway.
- Safety gear: Gloves, safety glasses, and a dust mask.
- Mixing tools: A drill with a paddle mixer attachment or a mixing board and trowel.
- Cleaning tools: A stiff brush or broom and a power washer.
- Resin primer (if recommended by the repair kit).
Steps to Repair Cracks and Damage:
- Safety First: Use your safety gear to protect yourself during the repair process.
- Clean the Area: Thoroughly clean the damaged area using a power washer or a hose with a high-pressure nozzle to remove dirt, debris, and loose aggregate.
- Fill Small Cracks: For hairline cracks or small surface imperfections, you can use a crack filler from your repair kit. Mix the resin and hardener according to the kit’s instructions and apply it to the damaged area. Smooth it out with a trowel and allow it to cure.
- Repair Potholes or Depressions: Fill potholes or depressions with the resin-bound repair mixture. Mix the resin, hardener, and aggregate according to the kit’s instructions. Apply the mixture to the damaged area, ensuring it’s slightly above the surrounding surface for compaction. Use a trowel to level and smooth the repair, and then compact it with a roller to ensure a flush finish.
- Address Loose Aggregate: If you have loose stones on the surface, mix a small batch of resin-bound mixture and apply it to the affected area. Press the stones down firmly into the resin, ensuring they are secure.
- Deep Cracks: For deeper cracks that may affect the driveway’s integrity, consult with a professional installer. They may need to cut out and replace the damaged section to ensure a lasting repair.
- Sealing (Optional): Some repair kits include a resin sealer to protect the repaired area. Follow the kit’s instructions for applying the sealer if recommended.
Conclusion: Repairing cracks and damage in a resin-bound driveway can help maintain its beauty and functionality. For small repairs, you can undertake the task yourself with a resin-bound repair kit. However, for significant damage or deep cracks, it’s advisable to consult a professional installer who can assess the situation and provide the best action. Regular maintenance and timely repairs will ensure your resin-bound driveway continues to impress with its longevity and aesthetics.
Call us on: 028 9694 3884
Click here to find out more about Belfast Resin Driveways
Click here to complete our contact form and see how we can help with your driveway needs.